 Hearth & Homesteader
The Homestead List
5 Zones to Plan in Your Homestead Tool Shed
A useful tool shed starts with a return habit, not a wall full of new equipment. Think about the tasks your household already does, then give the tools and information for those tasks a clear home. These five zones are a layout idea you can adapt to a small shed or a few suitable shelves. You do not need five rooms or a shopping trip to start. Choose one area, agree on what belongs there and see whether everyone can find it again.

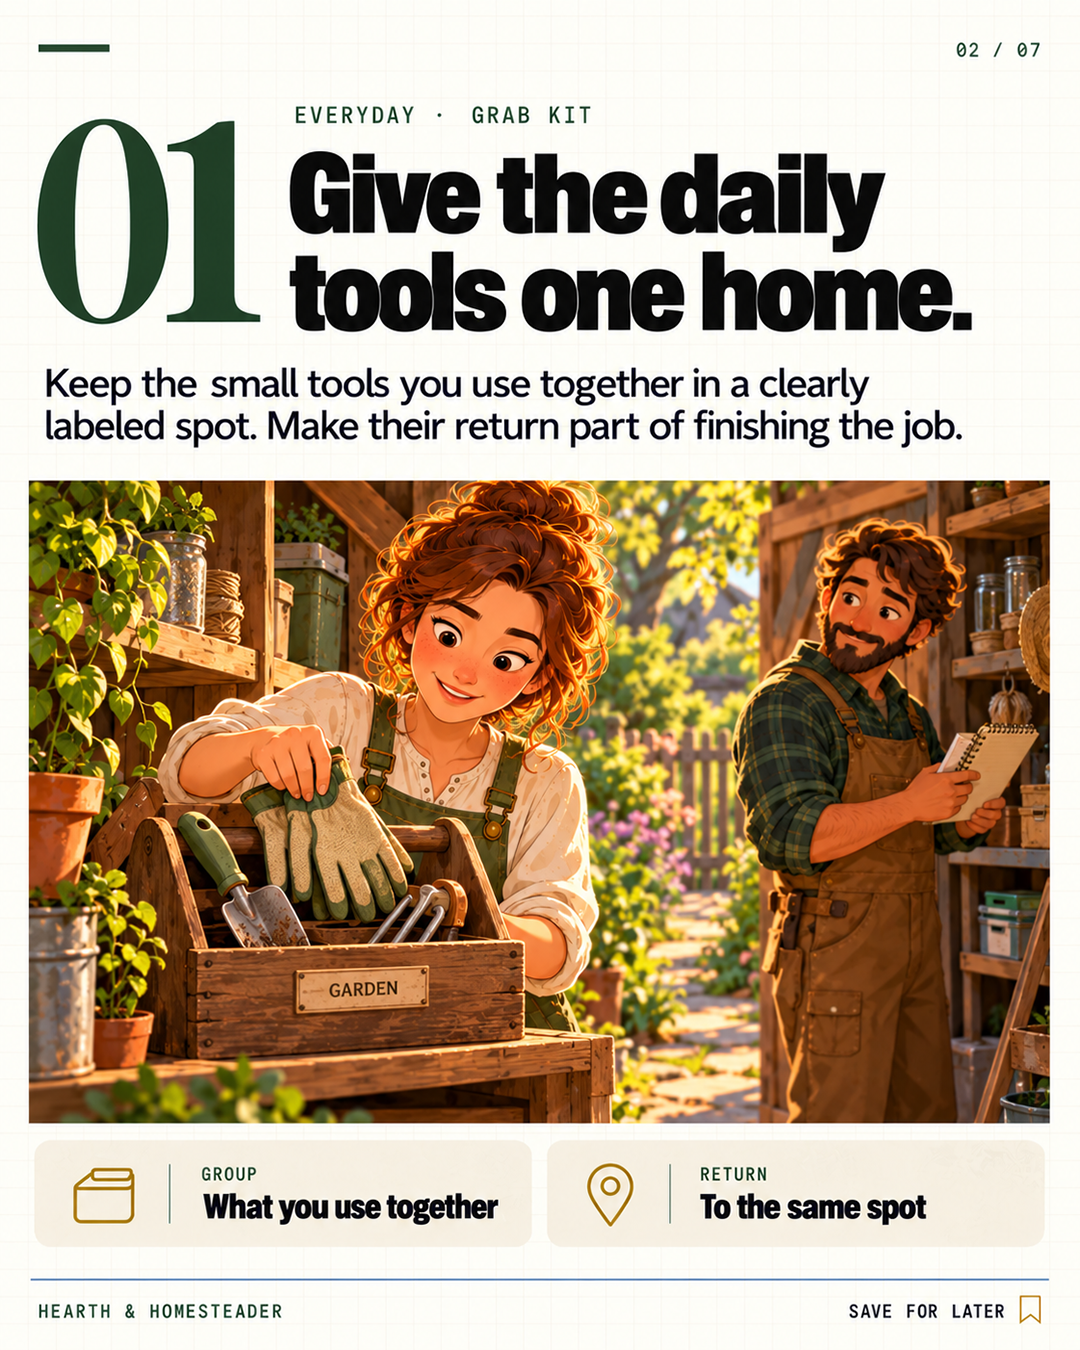
1. Give everyday tools one home.
Begin with one ordinary job and the small tools you actually use for it. Put the task name on a shelf or caddy and write down what belongs there. Virginia Cooperative Extension recommends grouping similar tools in dry, sheltered storage. Choose a suitable location for each item rather than filling a basket until it becomes hard to carry or see inside. Keep the return step simple enough for whoever uses the tools next. If equipment is shared, ask the other users what arrangement would help them.
Try this: Choose one recurring job, list its everyday tools and agree on one return location with the people who use them.
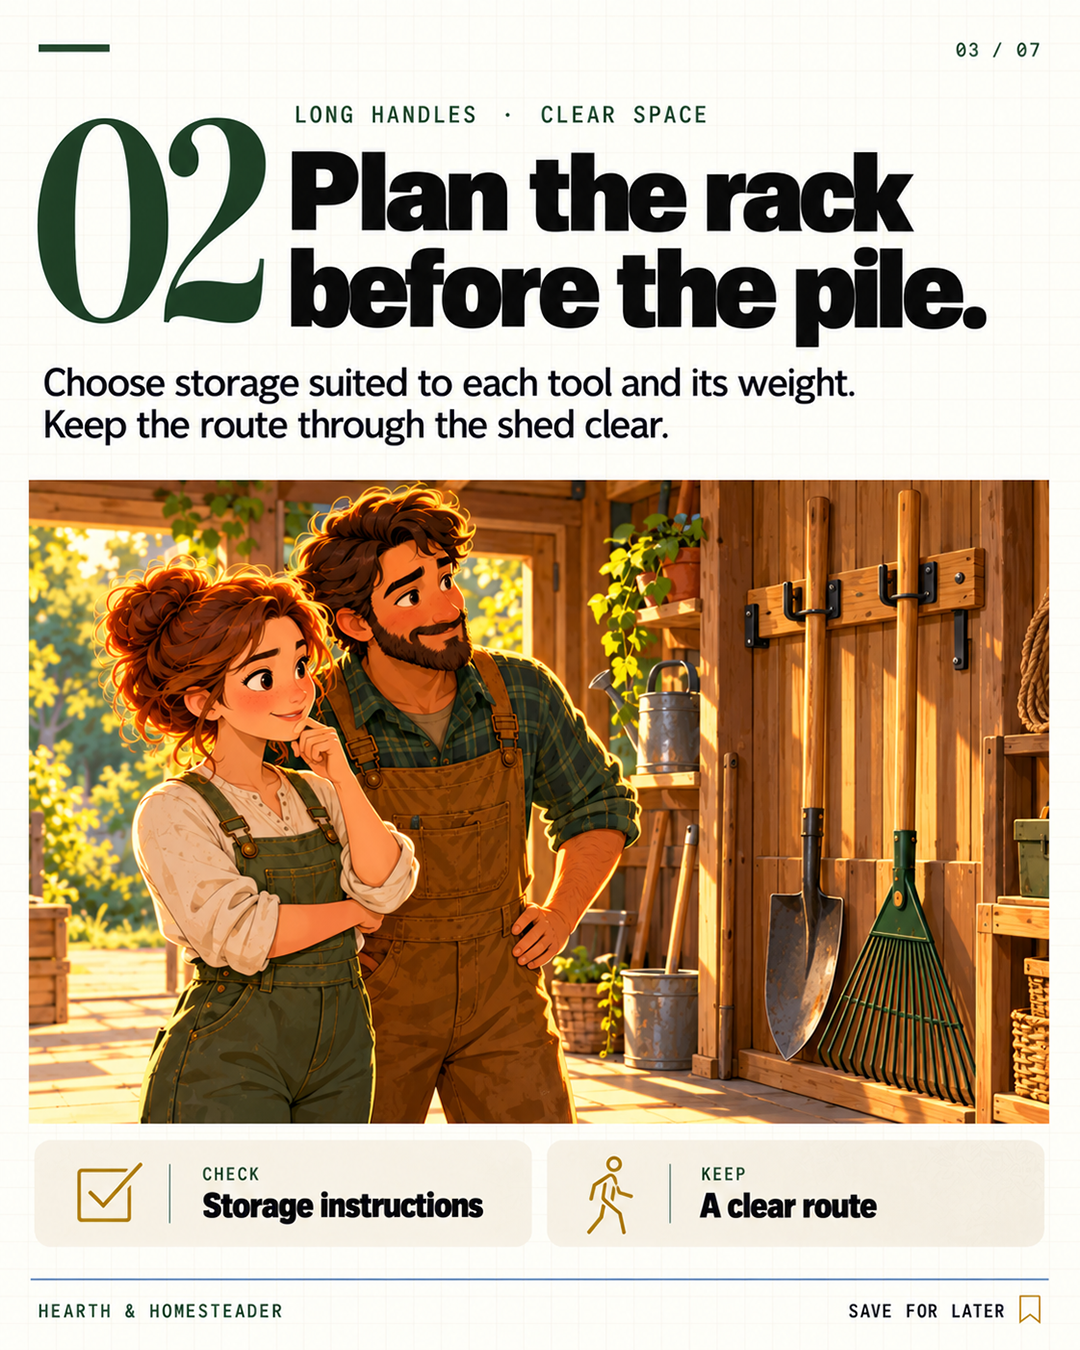
2. Plan long-handled tool storage.
Sketch the route through the shed before adding another rack. Decide where you need to walk, reach and turn while carrying an item. Virginia Cooperative Extension includes racks in its storage guidance. Match any storage system to the tools, their weight and its installation instructions; this sketch is a layout plan, not a mounting design. Keep long handles and working heads from spilling into the route. If you need help selecting or installing storage, record that as a separate next step before moving the tools.
Try this: Draw the walking route and the proposed tool-storage area, then note the instructions or installation help you still need.
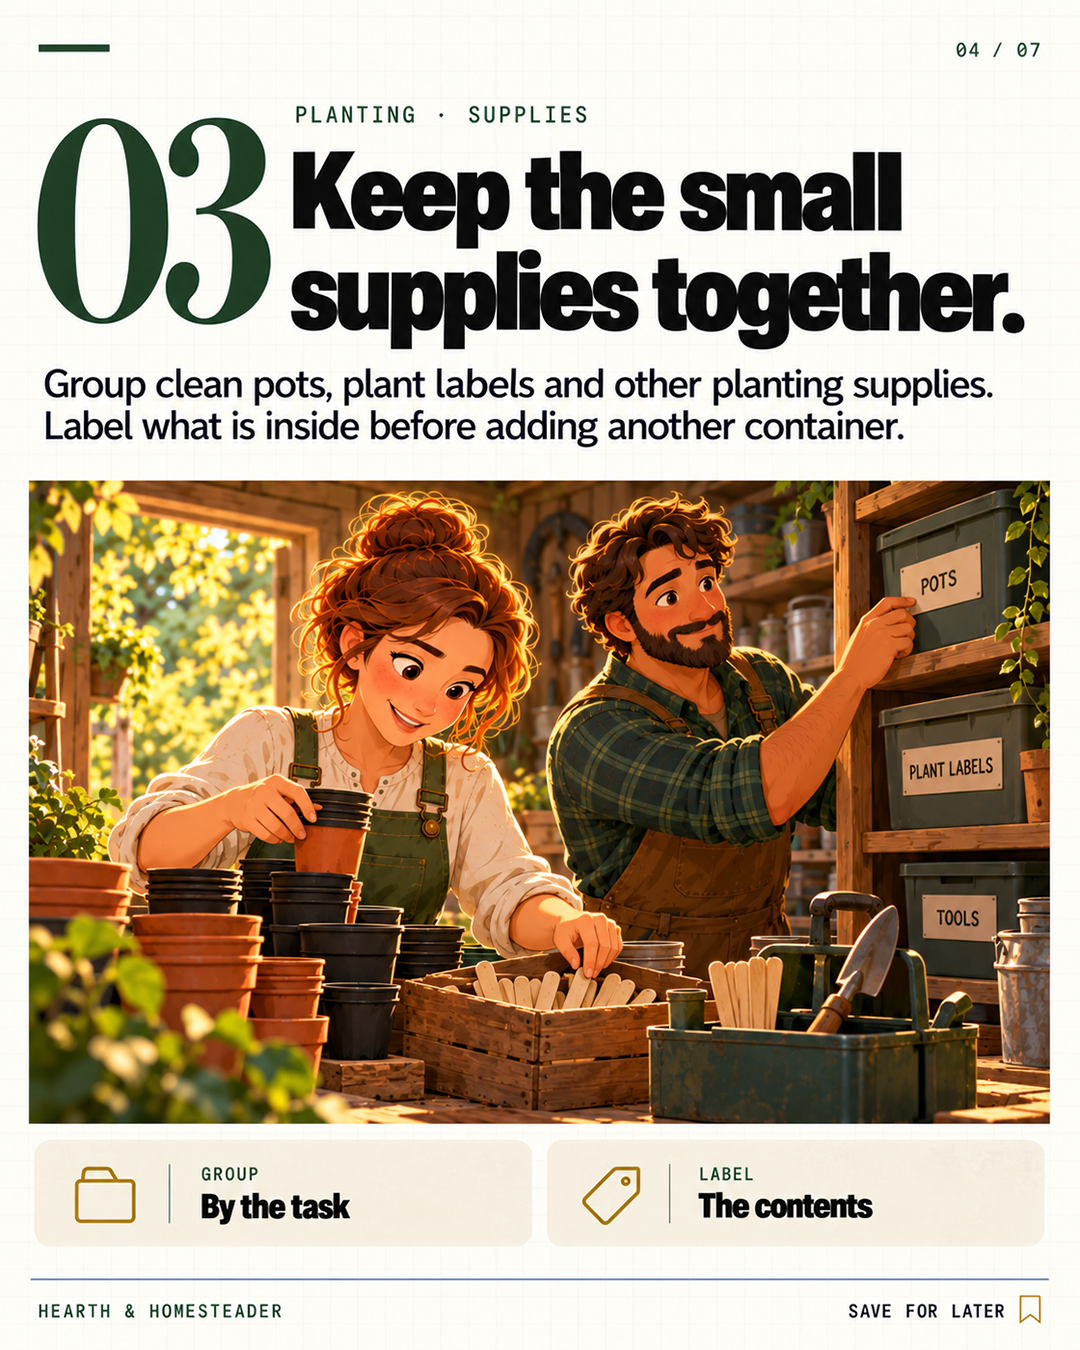
3. Group planting supplies by task.
Bring together the empty pots, plant labels and other supplies you use for planting. Check what is already present before adding another container. Give each bin a plain contents label and decide where an item should go when it returns. Maine Extension's tool-care guidance is a useful reminder to make cleaning and inspection part of the routine. Keep relevant care instructions with your plan. You can begin by sorting one shelf, without trying to reorganize every category in the shed at the same time.
Try this: Inventory one planting-supply shelf and write a contents label that another household member could understand.
4. Give instructions a home, too.
A labeled shelf is more useful when you can also find the information for what is on it. Choose a binder, a protected folder or a digital location for instructions and care notes. Record tool identities clearly enough to find the right guidance later. For borrowed equipment, add the owner and agreed return details with their permission. Keep a simple index if the information lives in several places. The aim is to make the next question easier to answer, rather than build an elaborate filing project.
Try this: Choose one tool and record its identity, instructions location, owner and any agreed return details.

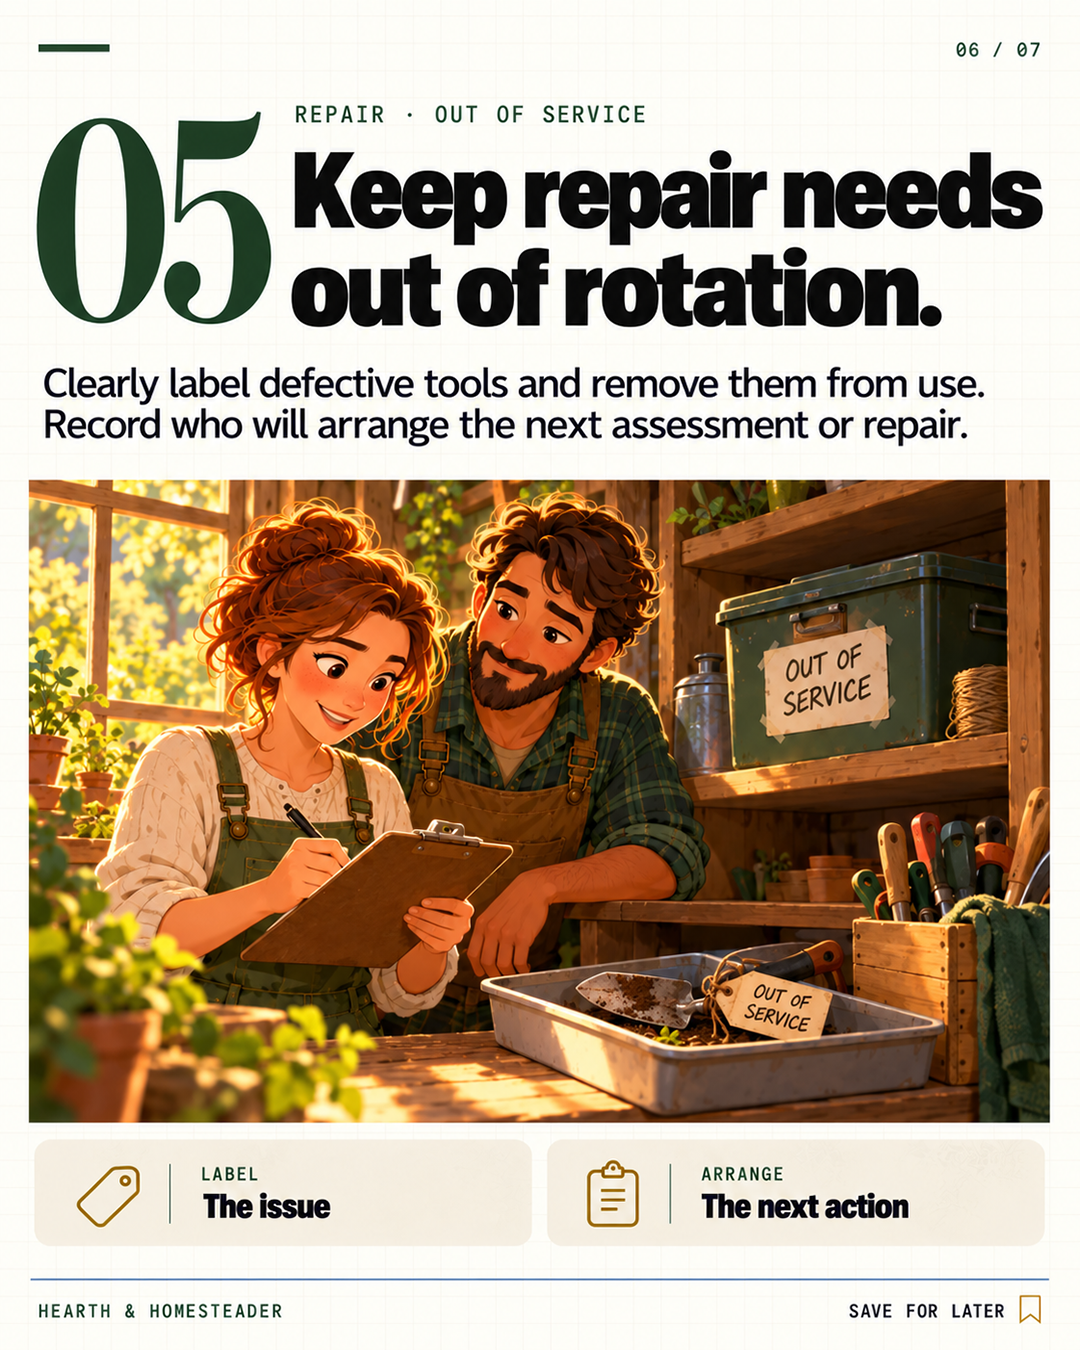
5. Keep repair needs out of rotation.
Make the status of a defective tool clear before anyone reaches for it again. Virginia Cooperative Extension advises labeling defective tools, removing them from service and identifying a designated place for items needing attention. Keep that area separate from the everyday kit, with storage suited to the item. Write down the observed issue and who will arrange assessment or repair. A note is a way to preserve the question, not proof that the tool is ready for use. Follow appropriate guidance before returning it to the working collection.
Try this: Choose an out-of-service location and a simple note format: item, observed issue, date and person arranging the next action.
Your next step
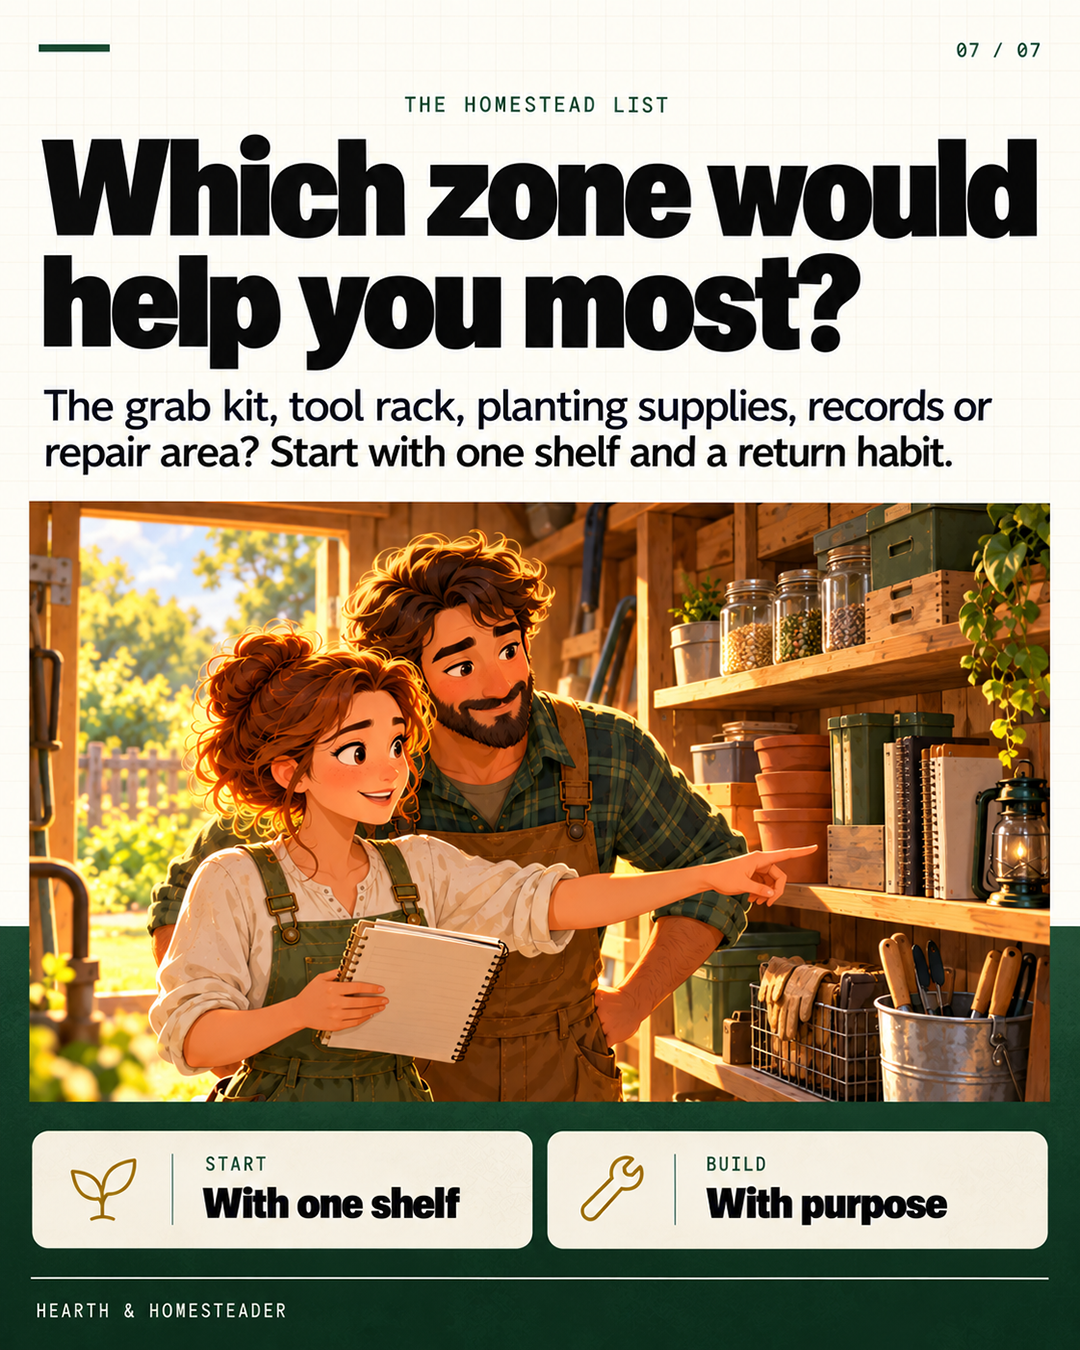
Start with the zone that causes the most searching or uncertainty. Complete one shelf or one task group, then ask the people who use it whether the arrangement works. Keep what helps and revise what does not. Which would make the biggest difference first: the grab kit, long-handled tools, planting supplies, instructions or repair area?
Tool shed zone planning sheet
Sketch one manageable area first. This is a task and storage plan; use item and storage-system instructions for installation, handling and care.
Open and print the planning worksheet
Optional planning resources
Affiliate links: we may earn a commission if you buy. As an Amazon Associate I earn from qualifying purchases. This is an optional editorial reading resource, not a hands-on product review. Begin with the free guides below or check your library.
The Tool Book — DK
Optional reference by Phil Davy, Jo Behari, Matthew Jackson and Luke Edwardes-Evans on tools, their uses and care. Check your library first. A general reference does not replace the item's instructions, suitable storage guidance or qualified help with installation or repair.
View on Amazon